Photography in the Cold
Using Cameras in Winter Weather
1 - Avoid frost and moisture build-up
2 - Make sure you
have enough battery power
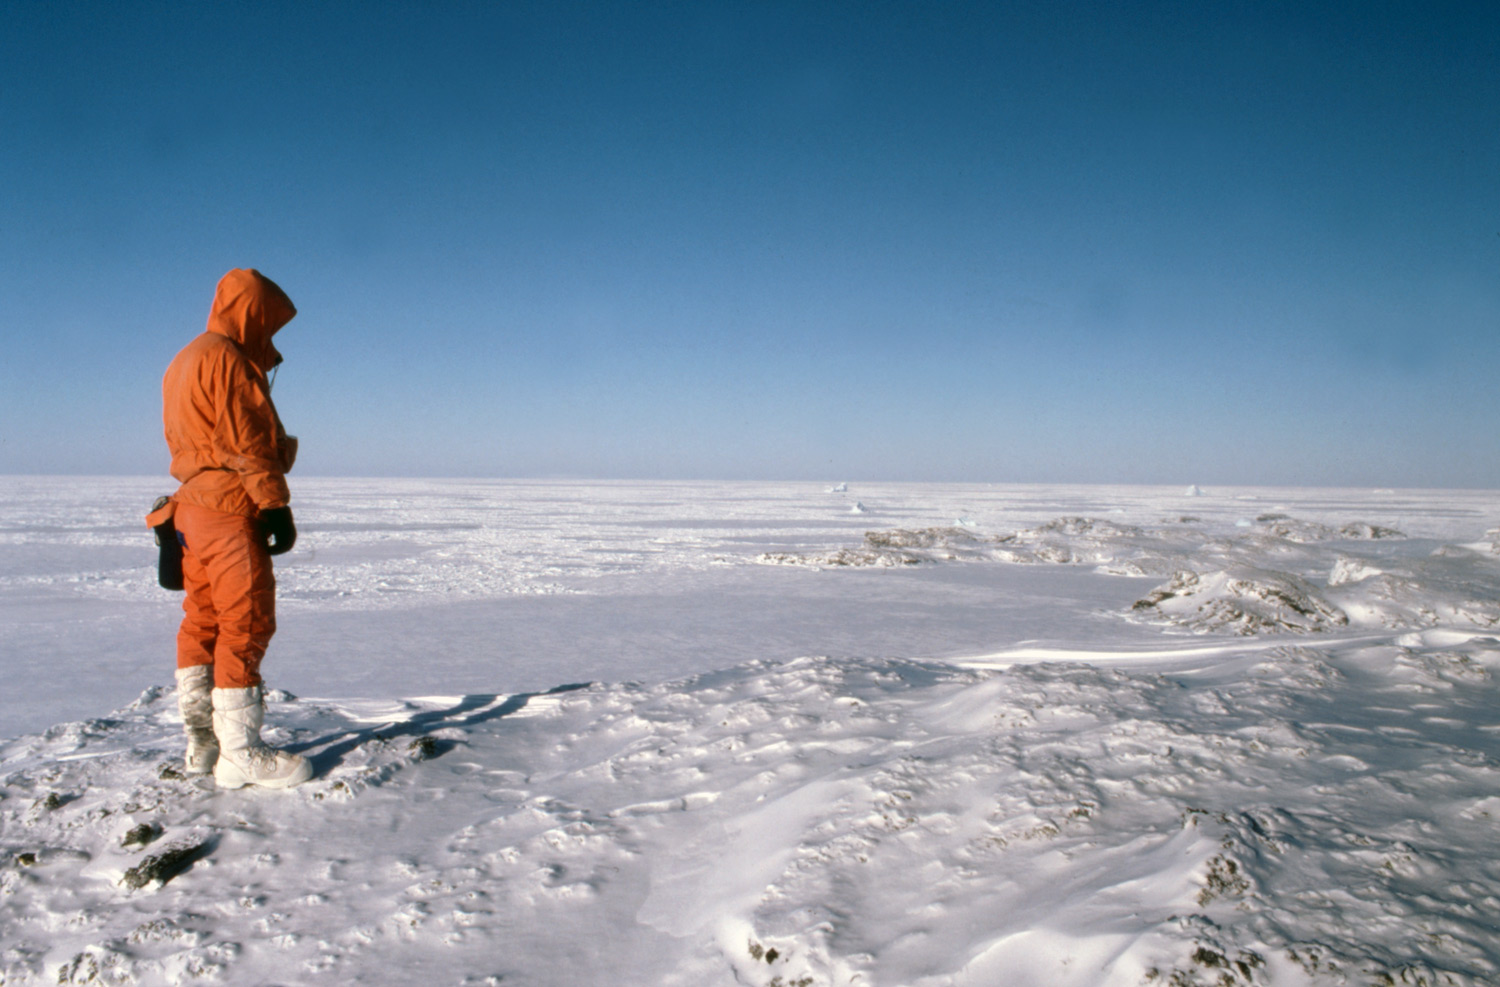
Taking pictures in extreme cold climates is less to do with the kind of photographic equipment that you have and more to do with how you protect and use that equipment. Modern cameras are electronic devices, more than anything this is what affects their use in cold temperatures.
Take active steps to protect your gear from the weather
 Moisture
whether liquid or in the form of frost, snow and ice need to
be avoided as far as possible. Water may get into the camera
and affect the electronics and optics or sit on the lens surface
where it will blur your pictures.
Moisture
whether liquid or in the form of frost, snow and ice need to
be avoided as far as possible. Water may get into the camera
and affect the electronics and optics or sit on the lens surface
where it will blur your pictures.
- Keep your camera in its
case when you are not using it to take pictures.
Exposed to the air, frost may build up which could
obscure the viewfinder or lens or find its way inside, particularly
when you focus, zoom or operate any dials.
It won't get any warmer inside the case, but there is only a tiny air volume which means a lot less frost build up from the moisture in that air.
There are rain covers you can buy that work like a poncho for your camera that you may wish to use. Personally I've never liked these and always prefer to keep the camera in its padded protective case when not in use, though they can be good for situations where the camera is set up for a long time such as sports photography or time-lapse.
- Avoid changing lenses if
it's raining or snowing, a single snow flake inside
your camera could cause problems, probably not immediately
(unless it ends up on the sensor) but possibly by causing
corrosion later on. If you must change lenses, then find
shelter as far as possible in the lee of the wind and do
it protected by a semi-open jacket, do it quickly though
preferably not at all.
- Put the the lens cap in
place when the camera is not in use. It will help
prevent condensation and frost forming on the front of the
lens.
- Carry some soft lens cleaning
tissues with you If you get moisture or frost on
the lens, they can be used to dab it off and wipe it dry,
much better than using an ordinary tissue or the corner
of a scarf.
- Returning indoors with
cold camera gear - leave your gear in the bags
or case for a few hours or longer until it has warmed up,
close and zip the bag fully while still out in the cold.
If you take it out too early in a warm room, condensation
will form on the camera and lens surfaces.
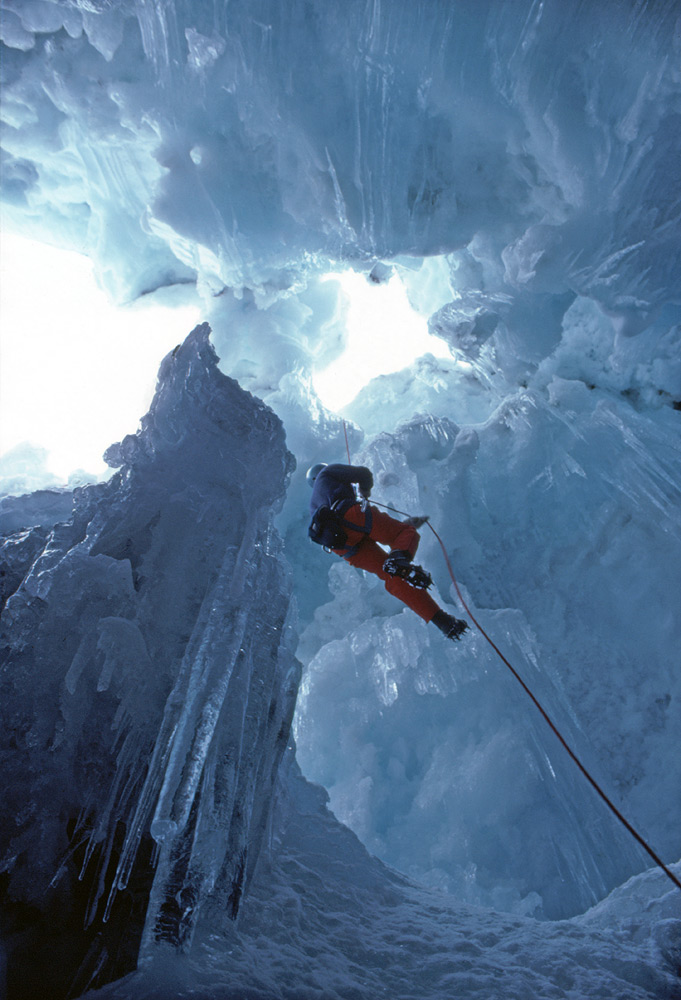
- Holster
style camera cases worn on a waist belt protect your
camera from the weather, but allow ready access when needed,
if it's in the way when harnessing up to descend into a crevasse
(for example), just push it round the back. A snap closure
and a zip allow for quick access or
better weather proofing depending on conditions using
one or both.
Buy holster style camera cases | Buy camera bags
Batteries - it's all about power
 Another
difficulty faced by modern cameras in the cold is the reduction
in battery power in a device that is designed to use battery
power for every function. The extent of the effect
is dependent on a number of variables such as the particular
camera, particular battery and the actual temperature. The battery
can have an effective capacity that is a fraction, maybe 50%,
10% or even less of its normal functionality. It may just decide
to pack up working completely if it gets cold enough.
Another
difficulty faced by modern cameras in the cold is the reduction
in battery power in a device that is designed to use battery
power for every function. The extent of the effect
is dependent on a number of variables such as the particular
camera, particular battery and the actual temperature. The battery
can have an effective capacity that is a fraction, maybe 50%,
10% or even less of its normal functionality. It may just decide
to pack up working completely if it gets cold enough.
There are a number of steps you can take to ensure your camera keeps going in cold conditions.
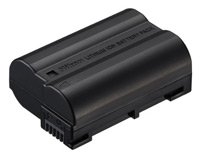
- Carry a spare battery or
batteries and keep them warm until needed.
Inside your clothing, in an inner pocket that is
reasonably easy to reach while outside in cold
conditions.
- Turn off non-necessary camera features.
- The LCD display
that shows your picture and exposure information as
you take them use up power and will run your battery
flat faster. You may not need to do this as such displays
may just stop working if it gets cold enough while the
rest of the electronics keep going.
- Auto-focus
while extremely useful is not vital. Many DSLR's have
the ability to focus manually. If your batteries run
down too quickly or the focus becomes very sluggish,
switch to manual focus.
- Re-warmed batteries can
often have a second lease of life. When the battery
you're using finally stops and you swap over with the warm
full one from your inner pocket, put the old one in there
and by the time you've run out of battery power again, the
re-warmed one should have something left to give again.
- It is also possible to
purchase external battery packs for some cameras
that connect by a wire, so you can keep the battery in your
pocket for warmth. It does introduce other inconveniences
however and is only usually necessary if using your camera
for extended video shooting.
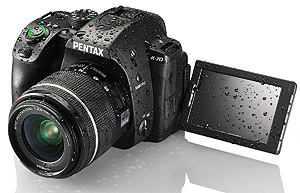
DSLR's with their optical viewfinder and manual focus options are better for very cold weather than cameras that are dependent on batteries for every function.
Don't rely on weather sealing only
Many cameras are described by their manufacturers as being "weather sealed". This means that at entry points to the camera, where the lens meets the body, at buttons, at access doors for the battery and memory card etc. there are seals that help keep moisture and dust out. While this is a good thing, there is no universal description of exactly what it means or any universal standard within or between different manufacturers.
Having a weather sealed camera is no substitute for keeping it protected against the weather. I once spent a very wet day in near freezing temperatures on Svalbard where one of our group insisted in carrying a very expensive weather sealed camera and lens round the neck as it was more convenient than keep putting it away and taking it out of the bag like the others in the group were doing. Later on that day the owner was seeking advice on what to do with a professional grade camera and lens that had got moisture inside.
Cameras and lenses have many potential ingress points, while buttons can be fully waterproof, dials and other rotating or sliding mechanisms such as focusing and zoom movements are much more difficult to seal. They may prevent ingress if left static, but when these parts start moving they can start to get leaky. While I use a DSLR that is described as "fully weather sealed" and that factor helped sway my purchase decision, I treat it pretty much like I would if it wasn't, weather sealing is best seen as an insurance measure rather than a guarantee. Generally it is mid range and upwards cameras that have weather sealing.